
[ad_1]
Acetone is a strong solvent that shortly dissolves ABS. Nonetheless, the ABS reconstitutes itself as soon as the acetone has evaporated. This phenomenon is used for welding ABS drain pipes (ABS glue accommodates acetone). It additionally permits us to make use of ‘ABS juice’ to use a skinny movie of ABS to the print mattress to assist with adhesion.
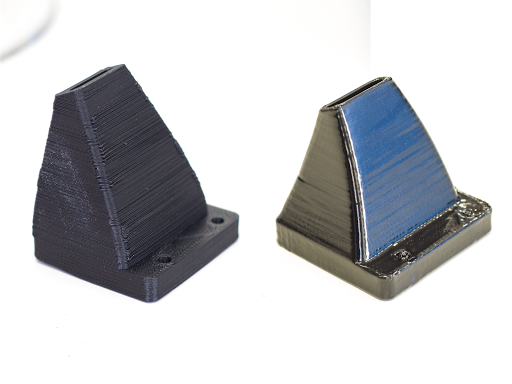
3D printed fan duct – utilizing ABS earlier than (left) and after acetone vapor sprucing (proper)
Acetone vapor smoothing makes use of gaseous acetone to dissolve the floor of a print. This ‘acetone tub’ blends the 3D printing layer strains collectively and ends in a clean shiny end. Since acetone evaporates shortly even at room temperature, this course of could be carried out slowly with none heating. Nonetheless, to speed up it we’re going to use a sizzling plate to boil the acetone. This fashion the method will solely take quarter-hour.
A word on Security
You should definitely carry out this job in a nicely ventilated space, even exterior is an efficient selection. Take heed to the chemical substances you might be utilizing and browse the MSDS and precautions from the producer earlier than starting. At all times be ready with security tools, on this case gloves, respirator, eye safety are suggested. You should definitely have eye washing station ready and a fireplace extinguisher prepared.
- Eye safety
- Rubber gloves
- Respirator
- Fireplace extinguisher
- Sizzling Plate
- Digital Thermometer
- Acetone
- Empty Paint Can
- String

Your Provides: acetone, an empty paint can, sizzling plate, and string.
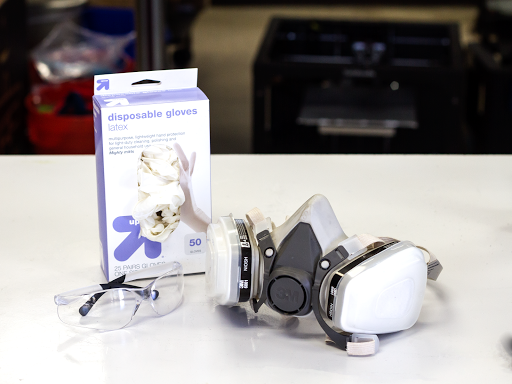
Security Gear: gloves, eye safety, respirator, fireplace extinguisher (not pictured)
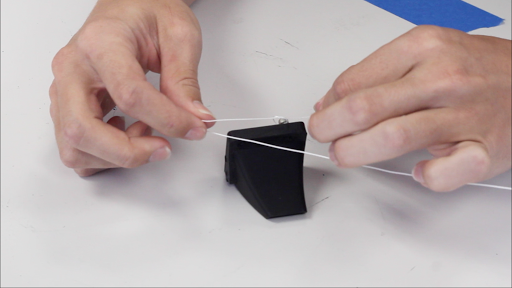
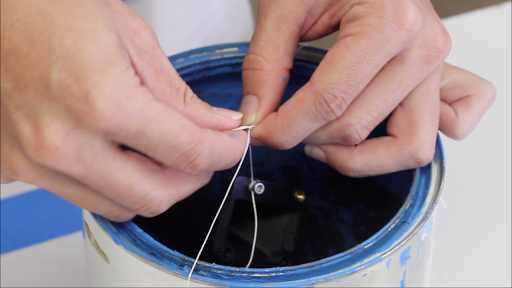
- Discover a strategy to tie some string to your print, with a view to cling it.
- For this instance I’m utilizing a fan shroud from a TAZ. It has holes on the again for screwing bolts into. I screwed a bolt into one gap after which tied the string to the bolt.
- Do not forget that the string will get caught to any a part of the article it’s touching.
- I tied one other piece of string throughout the highest of the can. That is what the half will cling from.
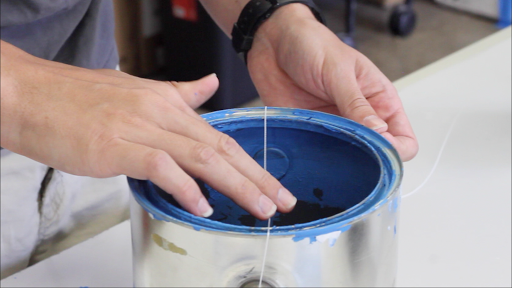
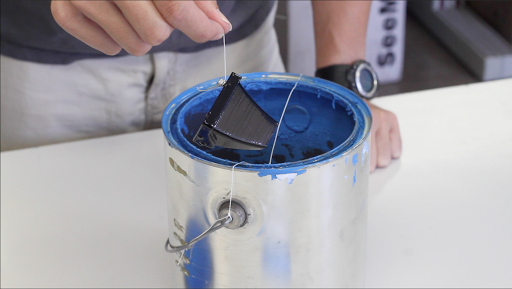
- The half must be suspended roughly within the heart of the can. Be sure that it’s excessive sufficient that it will not be touching the acetone we are going to pour in.
- Pour a couple of 1/2″ of acetone into the underside of the can.

- Just be sure you add sufficient acetone so that it’ll not run out earlier than the method is full. That is necessary as a result of the cooling motion of the vaporization stabilizes the temperatures contained in the can. If it runs out of acetone, the temperature will rise and any acetone absorbed into the half will boil out and create bubbles.
- Additionally guarantee that the half just isn’t touching the acetone and that it’s excessive sufficient to not get splattered by the boiling motion.
- Do that in a nicely ventilated space.
- Place the lid on the can.
- Don’t seal the lid tightly. If the vapor can’t escape, the can will explode from the growth of the gasses.
- We drilled a gap within the lid to behave as a vent and in addition to permit us to insert a temperature probe.
- Place the can on the new plate and activate the warmth to the bottom setting. When set to “Heat” our sizzling plate stored the temperature secure at 55 °C (130 °F).

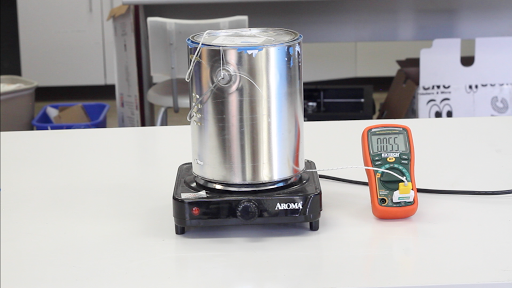
- Set a timer for quarter-hour and verify the print each 5 minutes.
- DO NOT BREATHE THE ACETONE VAPORS.
- After quarter-hour, flip off the warmth, take the half out, and cling it someplace to dry.
- Don’t wait longer than quarter-hour. After 20 minutes it should begin to develop boils.
- The half can be very comfortable and cheesy now. Don’t contact it. Give it about half-hour to solidify.
- If you happen to resolve it is not clean sufficient but, watch for it to solidify after which repeat the method.

Completed Product
And that’s all there’s to it! Good luck, be secure, and completely satisfied printing!
[ad_2]

